

How to Winterize Exterior Doors and Prevent Cold Drafts
Cold air entering around an exterior door can make your home uncomfortable and force your heating system to work harder. Even a well-insulated door may allow drafts when its weatherstripping wears out, the threshold shifts, or small gaps develop around the frame. Learning how to winterize exterior doors helps you address these problems before freezing temperatures arrive.
Most winter door maintenance involves inspecting seals, adjusting hardware, and closing unwanted air gaps. Some improvements require only basic supplies, while damaged frames and persistent alignment problems may need professional repair. This guide explains what to check, which materials to use, and how to protect your doors throughout the winter season.
Winter Door Maintenance Checklist for Homeowners
Start with a complete inspection of your front door, back door, patio entrance, and other exterior doors. Use this winter door maintenance checklist to identify potential problems and keep track of the work you complete.
Exterior Door Winterization Checklist
Check off each task as you prepare your doors for cold weather.
- Inspect the door frame for cracks, gaps, and damage.
- Check existing weatherstripping for wear or compression.
- Test for drafts along the top and sides of the door.
- Inspect the door sweep and bottom threshold.
- Seal suitable stationary gaps with exterior-rated caulk.
- Tighten loose hinges and inspect the latch.
- Examine the door for moisture damage or warping.
- Clean the threshold and remove debris.
- Check that the door opens, closes, and locks properly.
- Recheck the seals after the first cold spell.
Complete the inspection before severe winter weather whenever possible. Pay particular attention to older exterior doors and entrances exposed to strong winds, rain, or snow. Identifying small problems early can help prevent drafts and moisture-related damage.
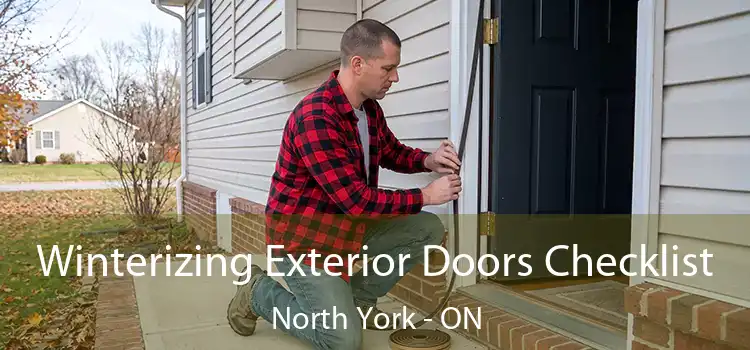
Step-by-Step Guide to Sealing Exterior Doors for Winter
Effective draft proofing doors begins with locating the source of the air leak. Rather than adding weatherstripping everywhere, inspect each component and choose a sealing method that addresses the specific opening.
1. Find Air Leaks Around the Door
Close the door and inspect its perimeter for visible daylight, uneven gaps, or worn seals. On a windy day, carefully check for airflow around the frame and threshold. You can also close the door on a piece of paper and gently pull it; very little resistance may indicate inadequate weatherstrip compression in that area.
A flashlight test can reveal additional gaps when one person shines a light along the closed door while another observes from the opposite side. Mark problem areas before purchasing replacement materials.
2. Replace Damaged Weatherstripping
Weatherstripping helps seal the small spaces between a moving door and its frame. Over time, these seals may flatten, crack, loosen, or lose flexibility. Remove damaged material, clean the installation surface, and fit a compatible replacement according to the manufacturer's instructions.
Foam, V-strip, and compression-style weatherstripping serve different applications. The correct product should create a continuous seal while allowing the door to close and latch without excessive force.
3. Inspect the Door Sweep and Threshold
The space beneath an exterior door is a common source of cold drafts. A worn door sweep, improperly adjusted threshold, or damaged bottom gasket can leave enough room for outside air to enter. Inspect the entire bottom edge and check whether the sweep contacts the threshold evenly.
Replace damaged components with a compatible sweep or gasket. Adjustable thresholds may allow minor corrections, but avoid raising them so much that the door drags, becomes difficult to operate, or creates a tripping hazard.
4. Seal Stationary Cracks Around the Frame
Small cracks between stationary door trim and surrounding surfaces may allow unwanted air infiltration. Clean and dry the area, remove failed sealant, and apply a suitable exterior-rated caulk where appropriate. Larger hidden gaps may need professional assessment and properly installed low-expansion foam designed for doors and windows.
Do not apply caulk between moving door components or block designed drainage openings. Water must still be able to drain away from the door assembly.
5. Adjust Loose Hinges and Door Hardware
Loose hinges can cause a door to sag, creating uneven gaps around the frame. Inspect accessible screws, tighten loose hardware when safe, and check that the latch engages properly. A door that closes unevenly may compress weatherstripping on one side while leaving a draft on the other.
If the door remains misaligned, rubs heavily against the frame, or will not lock securely, have a qualified technician inspect it before making major adjustments.
Best Weatherstripping Materials for Exterior Doors
Choosing the right material makes winter door sealing more effective and durable. Different products are designed for different gap sizes, locations, and door construction. Use the following comparison when selecting supplies for your project.
| Material | Best Application | Key Benefit |
|---|---|---|
| Foam Weatherstripping | Small, suitable compression gaps | Easy installation |
| V-Strip Weatherstripping | Compatible door jamb gaps | Flexible draft barrier |
| Rubber or Vinyl Gaskets | Door stops and compression seals | Durable perimeter sealing |
| Door Sweeps | Bottom edge of exterior doors | Reduces under-door drafts |
| Exterior-Rated Caulk | Stationary trim and frame joints | Seals fixed cracks |
Measure the existing gaps and check the door manufacturer's recommendations before selecting a product. Weatherstripping that is too thick can prevent proper latching, while material that is too thin may fail to stop drafts.
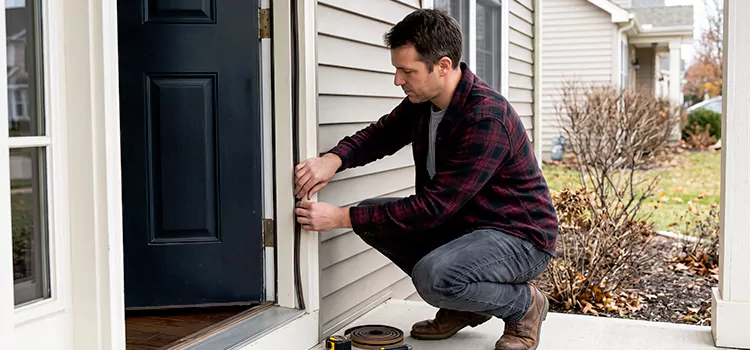
How to Seal Drafty Cold Doors Without Replacing Them
You do not always need a new door to solve winter draft problems. If the door remains structurally sound, improving its seals, correcting minor hardware issues, and repairing stationary frame gaps may restore comfort at a relatively modest cost. Effective weatherization focuses on the locations where outside air actually enters.
For a door with minor under-door airflow, a properly fitted sweep may be enough. If cold air enters along the sides, inspect weatherstripping and alignment before replacing the entire assembly. Temporary draft stoppers can help in some situations, but they should never interfere with exits, door operation, or locking.
For severe warping, extensive rot, broken glass, or structural frame damage, professional repair or replacement may be necessary. Our DIY vs. Professional Door Repair Guide can help you decide when a repair is appropriate for a homeowner and when specialist assistance is safer.
Common Winter Door Problems and Warning Signs
Winter conditions can reveal underlying door problems that are less noticeable during warmer months. Watch for these symptoms and address the cause rather than repeatedly applying temporary fixes.
- Cold Air Around the Frame: Missing weatherstripping, uneven alignment, or gaps around stationary trim may allow drafts.
- Door Sticking or Rubbing: Moisture-related swelling, hinge movement, or frame distortion may prevent smooth operation.
- Water Near the Threshold: Damaged seals, improper drainage, or installation problems may allow water to enter.
- Frost or Ice Around the Door: Air leakage and moisture can contribute to frost buildup during freezing conditions.
- Difficulty Locking: Misaligned hardware or a shifted frame may affect security and weather protection.
Check these areas after heavy rain, snow, or a significant temperature change. Persistent moisture, substantial movement, or a door that no longer closes securely should be inspected by a qualified professional.
Winter Door Maintenance Mistakes to Avoid
Some quick repairs can create new problems if the materials are installed incorrectly. When weatherizing exterior doors, avoid the following mistakes:
- Installing Oversized Seals: Thick weatherstripping can make the door difficult to close or prevent the latch from engaging.
- Blocking Drainage Openings: Covering designed drain or weep openings can trap moisture inside the door assembly.
- Ignoring Loose Hinges: Adding more weatherstripping will not correct the underlying cause of a sagging door.
- Using Indoor Sealants Outside: Products not rated for exterior conditions may deteriorate under moisture and temperature changes.
- Overlooking Door Safety: Weatherization should never compromise emergency exits, fire-rated assemblies, or ventilation requirements.
After finishing the work, open and close the door several times. Confirm that it latches easily, locks securely, and does not scrape against the threshold. Homes with fuel-burning appliances may also require professional ventilation and combustion-safety assessment when significant air-sealing work is performed.
Keep Your Exterior Doors Ready for Winter
Preparing exterior doors for winter does not need to be complicated. Checking seals, maintaining hardware, and repairing visible gaps can help reduce uncomfortable drafts while protecting the entrance from seasonal wear. A simple inspection before cold weather arrives makes it easier to identify problems before they worsen.
If damaged frames, persistent air leaks, or alignment problems prevent the door from sealing properly, consider a professional assessment. You can also use our Door Repair Cost Calculator to estimate typical repair expenses before requesting a quote.

North York is an eclectic, multicultural district home to the hands-on Ontario Science Centre and the Aga Khan Museum, with exhibits on Islamic culture in a striking modern building. In the area’s north, Black Creek Pioneer Village is an 1800s living museum. Sprawling Downsview Park includes a lake, event spaces, and a flea and farmers’ market, while Edwards Gardens has a greenhouse, fountains, and botanic gardens.